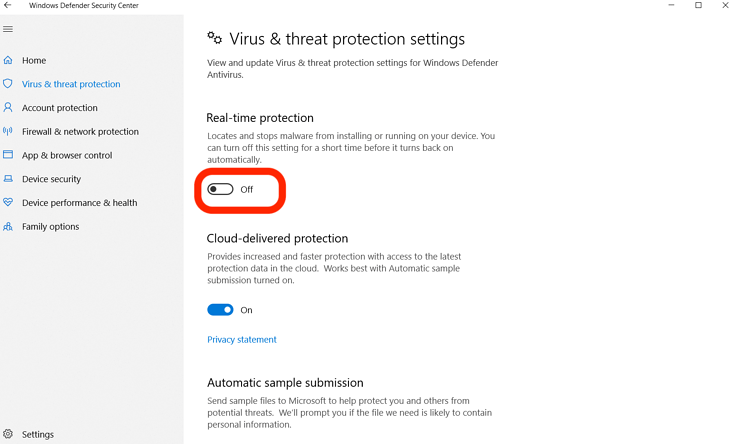
Steps to Turn Off/Disable Windows Defender Temporarily
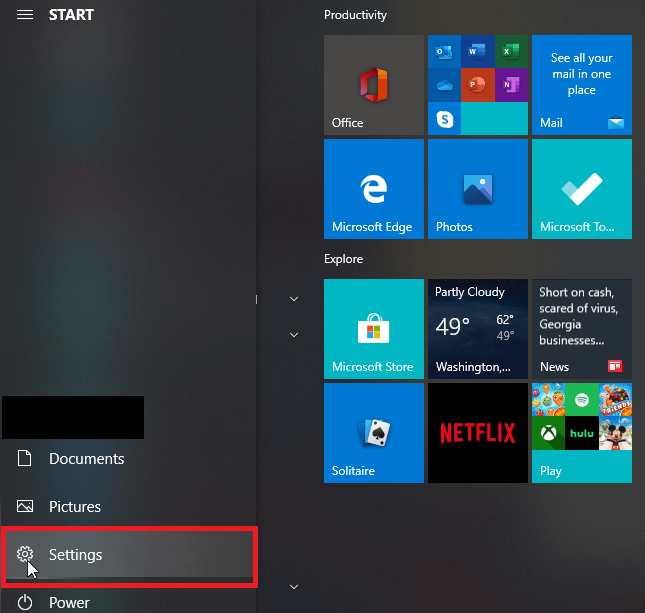
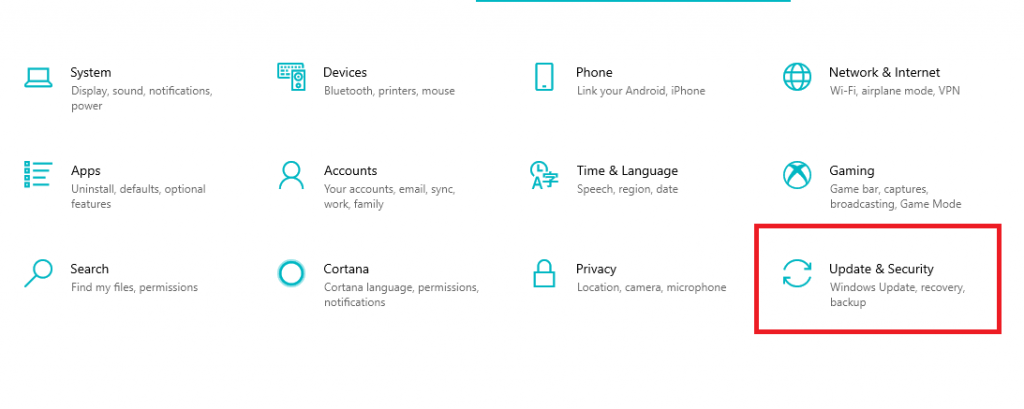
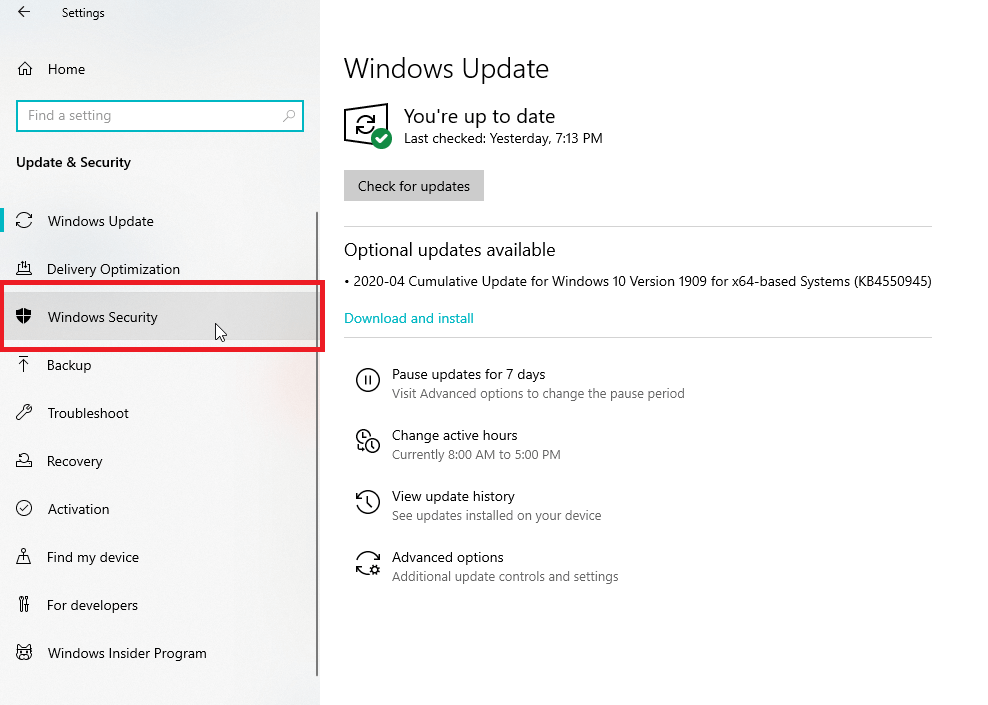
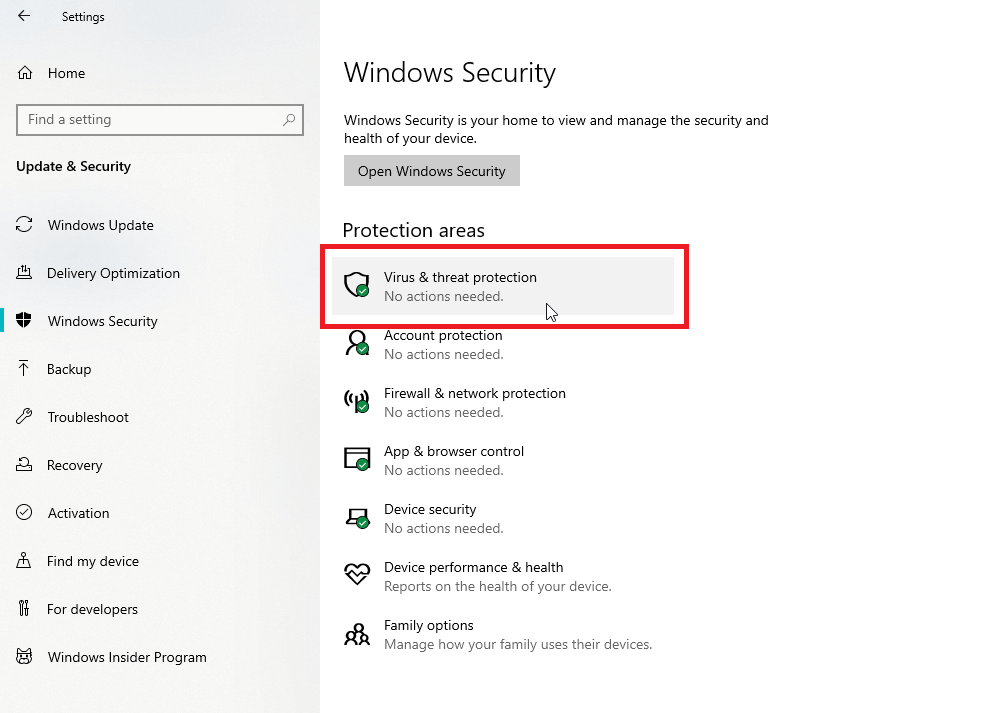
The following method works on all versions of Windows OS including Windows 10. Step 1: Press the Windows symbol on your computer and click the Settings icon. Step 2: Click Update & Security. Step 3: Click Windows Security on the left side menu panel. Step 4: Select Virus & threat protection. Step 5: Select Virus & threat protection settings. Step 6: Scroll down to Real-time protection menu and disable it by moving the slider.
Steps to Turn Off/Disable Windows Defender Permanently
You can disable the built-in Windows antivirus tool permanently by using the Windows registry. Step 1: Press Windows + R key to open the run command. Step 2: Type ‘regedit’ and press the enter key. Step 3: Now, browse through the following path HKEY_LOCAL_MACHINE > SOFTWARE > Policies > Microsoft > Windows Defender Step 4: Right-click on the Windows Defender folder and click New > DOWRD (32-bit) Value. Step 5: Name the new folder as DisableAntiSpyware and hit the enter key. Step 6: Double-click the file and change the value data from ‘0’ to ‘1’. Step 7: Click OK to close the tab and restart your device to disable the Windows permanently. Now, you can browse the web pages without any interruptions. However, it is advisable not to turn off the Windows antivirus tool as you may lose some of the security features associated with your device. Thank you for visiting techfollows.com. For further queries and feedback related to this guide, feel free to leave a comment below. Follow us on Facebook and Twitter for more useful guide and tech news.