Categories in Chucky Kodi Addon: Movies, TV Shows, My Movies, My TV Shows, New Movies, New Episodes, YouTube Channels, Documentaries, Search, Settings, Scrapper Settings, and Status. You can download this addon from its own Chucky Repo.

How to Install Chucky Kodi Addon?

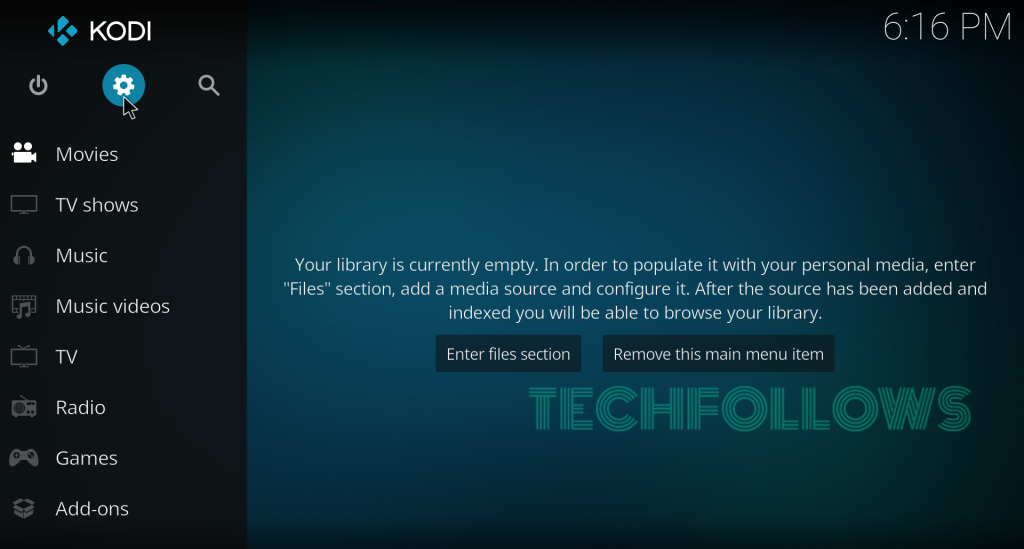
#1: Open Kodi and tap the Settings icon. #2: Select the System menu. #3: Hover over Addons menu and then turn on the Unknown sources. #4: Select Yes on the warning message displayed on the screen. #
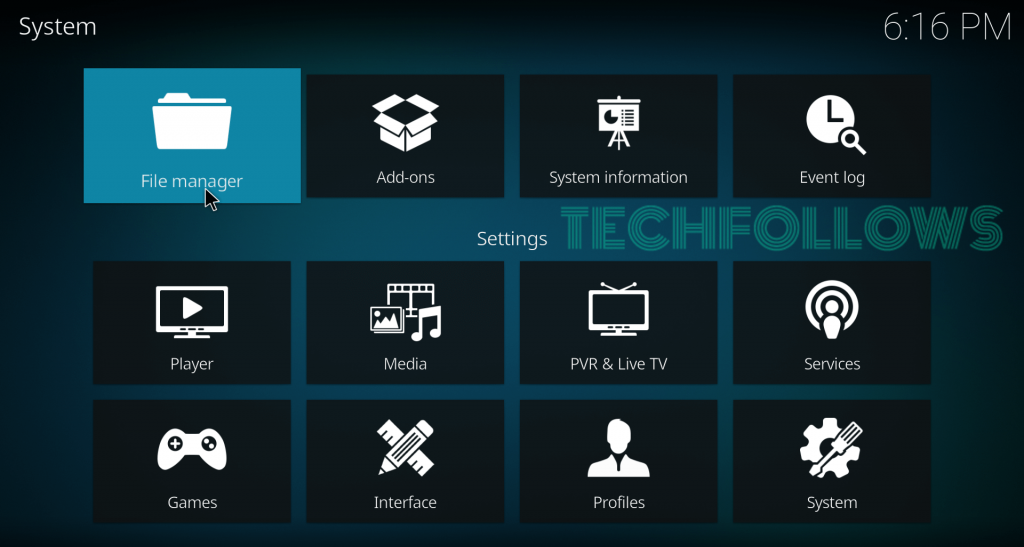
5: After enabling the setting, return to the settings page and then click the File Manager menu. #
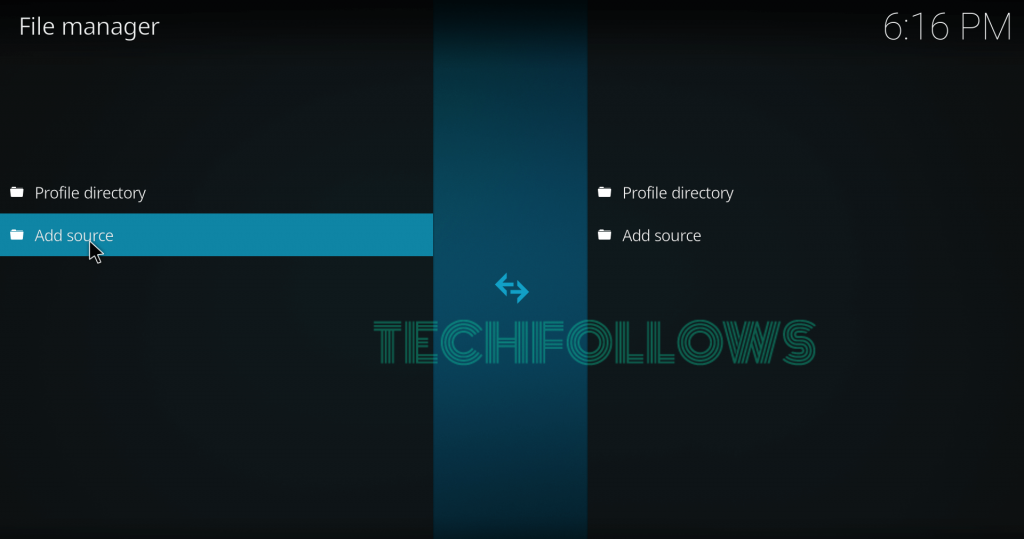
6: Double-click the Add Source menu.
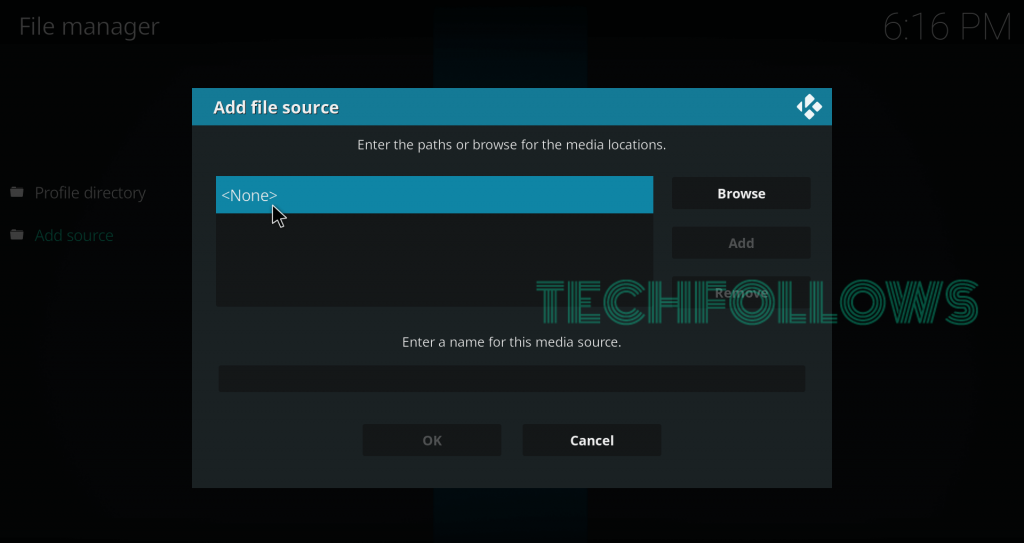
 #7: Click to add new URL. #8: Type the following link without any error and click the OK button. URL: http://newmirror.000webhostapp.com/start/ #9: Enter a name for your media source and then, click the OK button. #10: Return to the settings screen. #11: Click the Addons menu. #12: Select Install from zip file. #13: Click the source that you added now. #14: Click the zip file – repository.chucky-master.zip. #15: Wait until you receive Chucky Repository Addon installed notification on the screen. #16: Click Install from Repository. #17: Click the chucky repo. #18: Click Video Addons. #19: Select Chucky Video. #20: Select Install. #21: Select OK. #22: Wait until you receive Chucky Video Addon installed notification on the screen.

Final Thoughts

Thank you for visiting techfollows.com. For further queries about the article, feel free to leave a comment below. Use our social media profiles, Facebook and Twitter to share your feedback.

How to Install Chucky Kodi Addon  With Screenshots  - 91How to Install Chucky Kodi Addon  With Screenshots  - 74How to Install Chucky Kodi Addon  With Screenshots  - 80How to Install Chucky Kodi Addon  With Screenshots  - 51How to Install Chucky Kodi Addon  With Screenshots  - 94How to Install Chucky Kodi Addon  With Screenshots  - 74How to Install Chucky Kodi Addon  With Screenshots  - 97